


This is a slideshow walk through how I put together my piece “Scarlet Spring”.
- It starts with printed layers of silk with a very open weave. I have selected a variety of my digital photographs to print on the silk as a single color layer.
- The final image is created by combining two layers of printed silk. The first layer is secured to a wooden board, and the second is secured over a larger frame sized to fit the board. Of all the steps, building the frames has been the most difficult for me, but I am learning a few tricks.
- With all of my raw materials ready to go, I being the exploratory process to see what images begin showing up.
- I spend a lot of time setting up the layers of silk that I will be using, but mock-ups on the screen never have the same impact as what they will look like when they are truly on the fabric. This is one of most fun parts of the project for me. I spend time working with a single layer and combining it in different ways with the other designs. Unlike working on a screen I can really get a sense for the nuance. Simply working with my hands to manipulate the materials and see how the images line up is magical. Along with taking the initial photographs, this part is one in which I expose myself to serendipity and the core idea of these pieces: that the final image is an emergent property that comes into being as the elements interact with each other.
- In this case, though I had initially planned to do a print using both red and blue, when I came upon this interplay between two layers of red I immediately knew I had found something good.
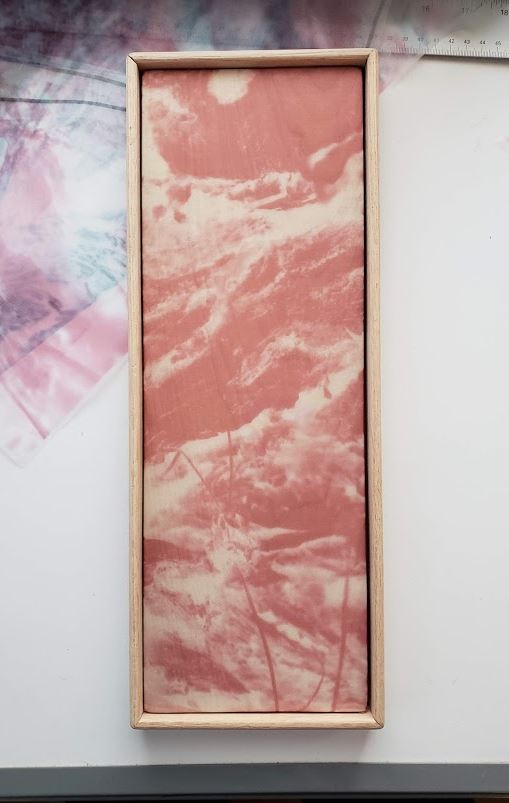
- Fixing the first layer of silk to the back board is simple. Keeping the fabric taut without damaging it is the most challenging part, but gravity works to my advantage here. The fabric doesn’t stretch, and it doesn’t need to have significant tension. It simply needs to lay flat and eliminate any creases. At this stage, before actually adhering the layer I double check to make sure the image fills the space correctly and looks good on its own.
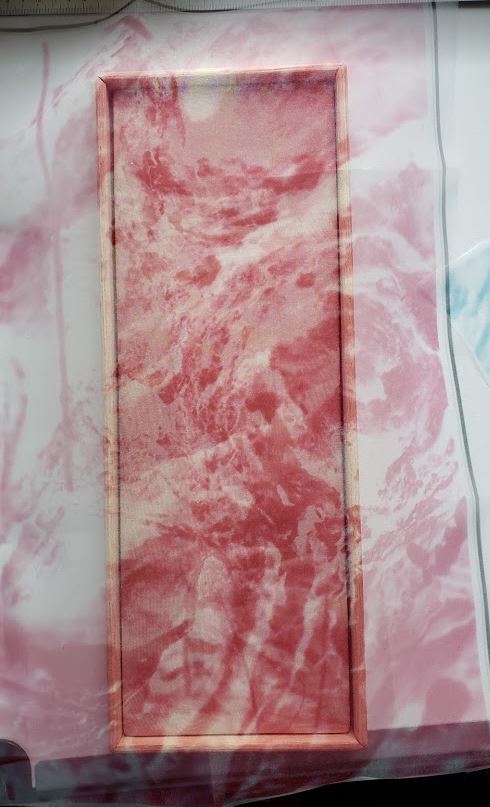
- Adding the second frame give the image a final “crop”. It should look good on its own, with strong graphic elements and balance. If the rear image doesn’t stand on its own, it probably means the final will be unbalanced as well.
- At this stage I get one more chance to see if the second layer I initially like still works for the final. Sometimes I am surprised and change my mind, but in this case it is even easier to see the final image I had initially been drawn to as a good solution.
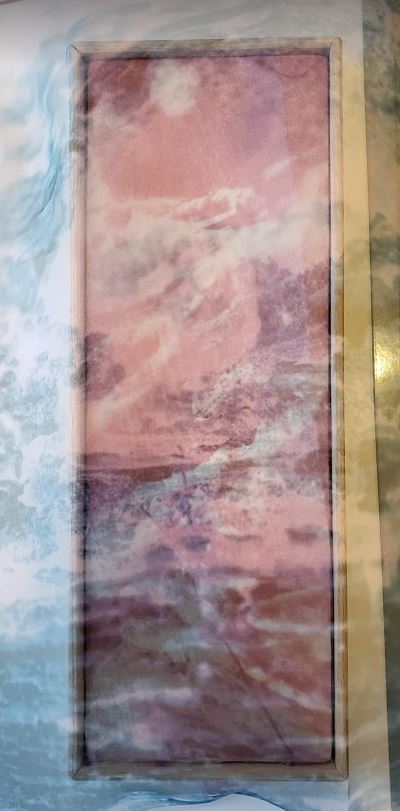
- Adhering the second layer is essentially the same process, but there is a gap between the two layers due to the depth of the frame. Thankfully the same technique works here. It is very important to look at the way the layers are interacting here since I wasn’t able to see this gap between layers when I first set up the image. Lining up tiny elements of the design to play off of one another is like exploring deeper into an undiscovered territory. It is like spending time with the flowers once you have stumbled into the meadow.
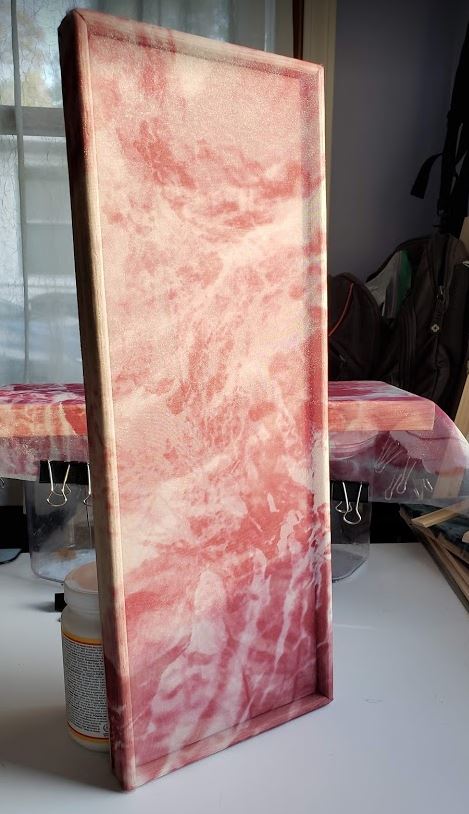
- and 11. are the final images. It is difficult to photograph these pieces since the silk is a bit reflective, and the angle of viewing has some impact on how the image actually shifts. This, of course, is also part of the magic.
Hope you enjoyed taking a little behind-the-scenes on this one. I really enjoyed putting it together and hope to create another two partners to go along with it.
